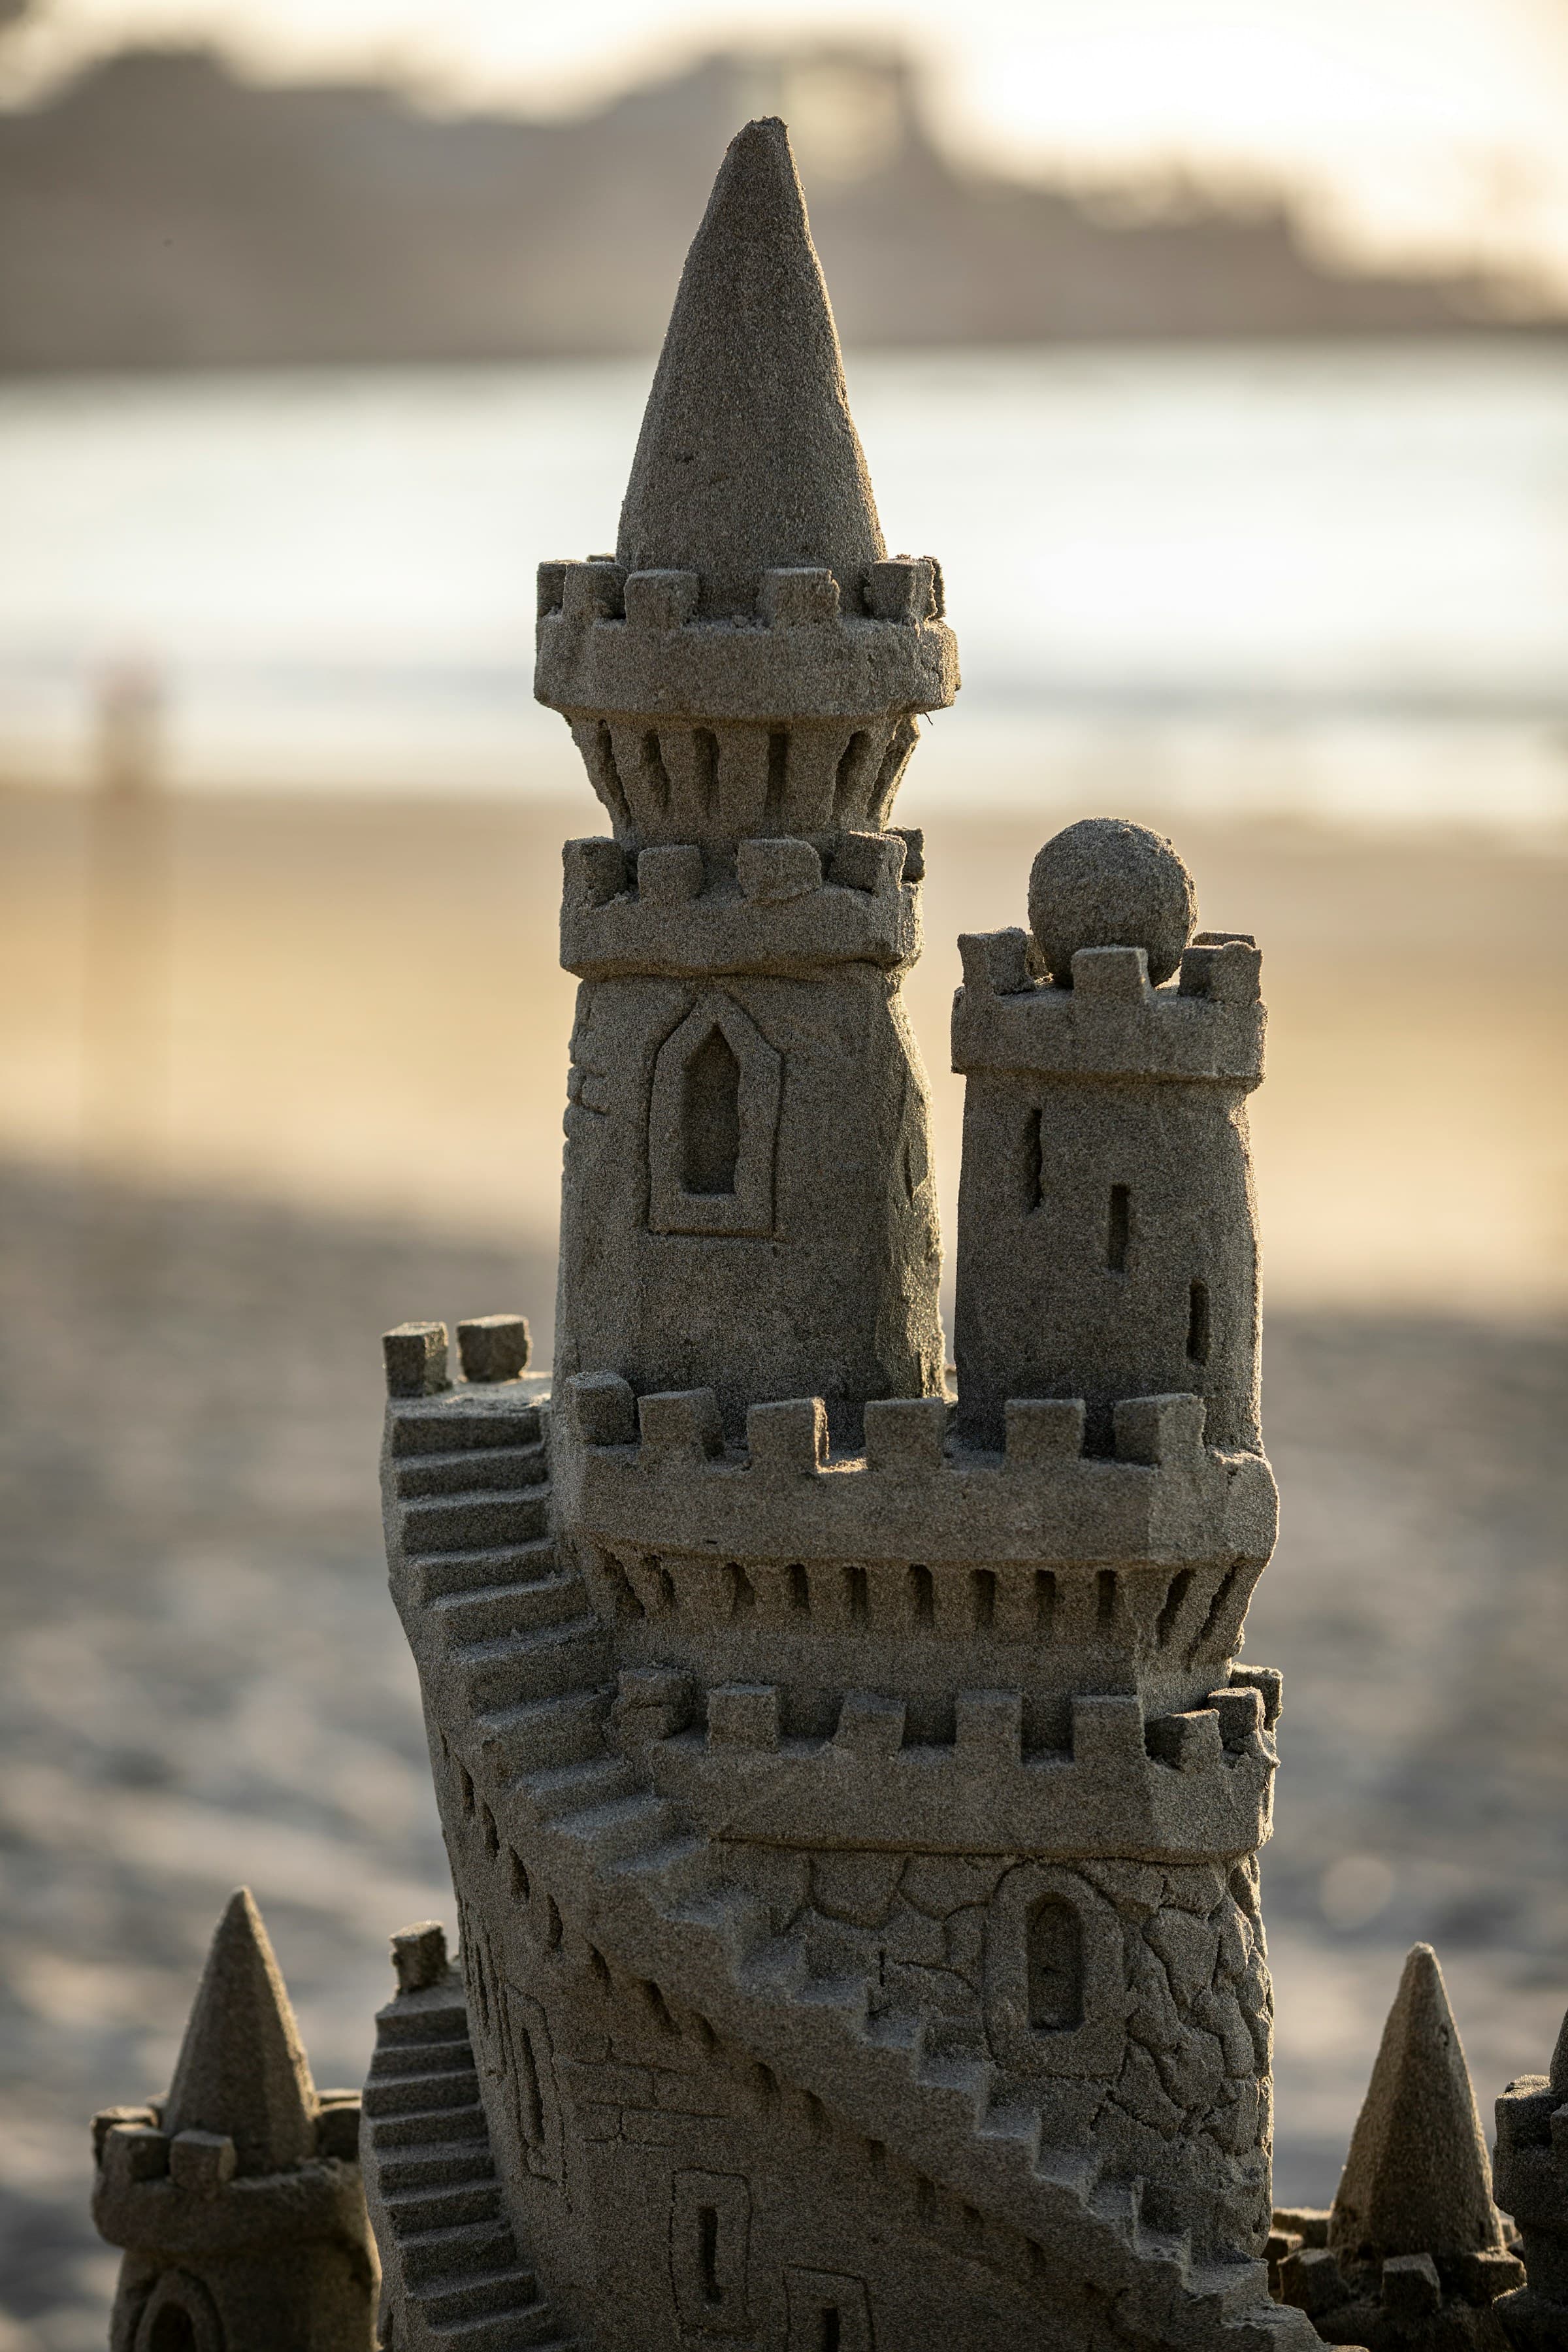
You can build a decent sandcastle with a bucket and spade, but a proper sand sculpture needs a few more tools: something to pack the sand hard, something to carve big shapes, small tools for detail, a brush and a spray bottle. Most of them are cheap, and several are probably in your kitchen or shed already.
If you are building on the Isle of Wight, the best sand is on the east coast at Shanklin and Sandown. See our guide to the best beach for sandcastles.
The essential toolsSection titled The essential tools
BucketsSection titled Buckets
Beach buckets move sand and seawater, and a bucket with the bottom cut out makes a simple form: stand it on the sand, fill it with damp sand in layers, pack each layer down, then lift it off to leave a solid block to carve. Two or three different sizes give you more options.
ShovelsSection titled Shovels
A sturdy shovel with a comfortable grip moves sand far faster than a child's spade. A full-size garden spade is better still for big builds if you can carry it.
Trowels and palette knivesSection titled Trowels and palette knives
Trowels carve the main shapes and smooth flat surfaces such as walls and steps. A plasterer's palette knife or an old butter knife does the same job on a smaller scale.
Sculpting toolsSection titled Sculpting tools
For detail work, clay sculpting tools with loop and wire ends are ideal for windows, doorways and texture. Teaspoons, lolly sticks and plastic straws are good free substitutes; a straw is also handy for blowing loose sand out of small gaps.
BrushesSection titled Brushes
Soft brushes clear away loose sand without damaging the surface. Use a soft one for smooth finishes and a stiffer one if you want texture like stonework or bark.
Spray bottleSection titled Spray bottle
A spray bottle of seawater keeps the surface damp while you work. Dry sand crumbles as soon as you carve it, so mist the area you are working on every few minutes on a sunny day.
How to use themSection titled How to use them
- Pick your spot. Choose damp, firm sand above the strandline so the tide won't reach your build before you finish.
- Make the block. Mix sand and seawater until it holds together like wet snow, then pile it up in layers (or into a bottomless bucket), packing each layer down hard. The harder it is packed, the finer the detail it will hold.
- Carve from the top down. Rough out the big shapes with a trowel first, then work down with the smaller tools. That way loose sand falls onto parts you haven't finished yet.
- Finish and brush. Brush away loose grains and mist the surface to firm it up.
For more ideas for a day by the sea, see 24 things to do on Isle of Wight beaches.